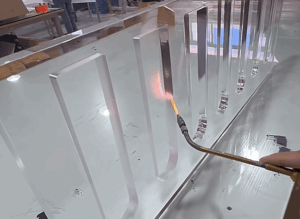
I remember the first time I ordered a CNC part.
I asked for a smooth finish. But when the part arrived, it had rough lines and tool marks.
I didn’t know what went wrong. I just knew it wasn’t what I had pictured.
The truth is, I didn’t know how to explain what I wanted. I also didn’t know what was realistic.
I wish I had seen some examples of the first—real ones. Not just drawings or specs.
If you’re in the same spot, I get it.
I’ve been in your shoes. I’ve designed parts on a computer. I’ve also worked with machine shops to get those parts made. Over time, I started saving real photos of the parts we got back—what turned out well, and what didn’t.
Those pictures helped me understand what to expect. I’m sharing them here because I believe they’ll help you, too.
In this guide, I’ll walk you through clear CNC milling examples—brackets, housings, test pieces, and more. You’ll see different finishes, edge types, and design details in real photos.
Let’s get started!
1. Examples by Function or Use Case
Before choosing a CNC vendor—or even finalizing your design—you need to know what’s realistically possible. And the best way to do that isn’t by reading specs. It’s by seeing parts that have already been made.
This section shows you visual examples grouped by how CNC parts are actually used. Whether you’re prototyping, sourcing precision components, or trying to understand finish quality, these real-world samples will help you evaluate quickly and confidently.
Prototypes & Concept Models
I’ve been on both sides of a prototype failure. Once, a plastic enclosure we sent out looked fine in CAD—but when we got it machined, the lid wouldn’t close cleanly. Slight interference. Tiny dimensional drift. But it killed the fit.
That’s why I always review real CNC prototype examples before locking a design.
With plastic housings and enclosures, what you’re looking for is fit and form. Not perfect cosmetics. You want to spot things like:
- Tool marks on the inner walls (so you can allow clearance)
- Slight warping on large flat faces (common with ABS or Nylon)
- How well mating parts come together
When you see a sequence like Rev A – Rev B – Final, it’s not just about looks. It’s a record of decision-making. A visual trail that shows how your part matured into something functional.
Look for parts with small geometry changes across versions—this is how you visually track development, test fit, and iterate fast.
Precision Mechanical Components
You don’t gamble with tolerance when mechanical parts are involved. I learned this the hard way when a supplier shipped aluminum brackets that were just 0.2mm off. Just enough to misalign an entire assembly line fixture. That cost us two days.
You want CNC examples that show:
- Tapped holes that are dead-center with no burr
- Flatness and edge consistency across faces
- Fit between multi-part assemblies—tight, but not forced
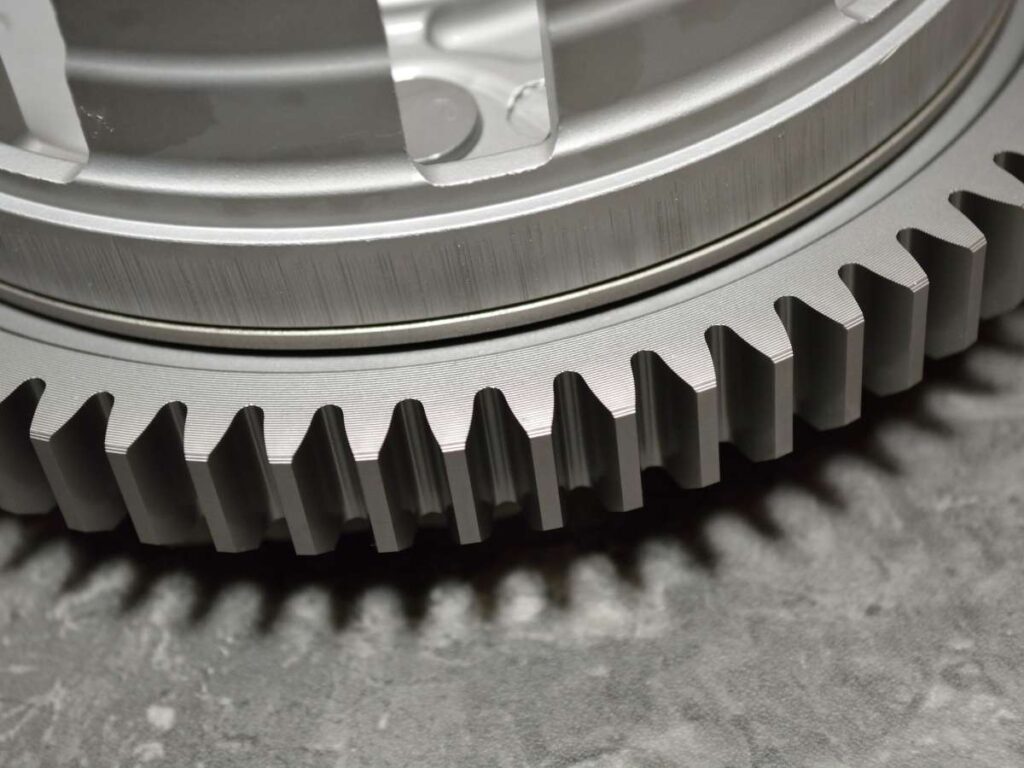
When you’re sourcing gear parts, couplings, or linked components, zoom in on:
- The finish between teeth (tool marks, sharpness)
- Radii and transitions between lobes or edges
- Any indication of backlash or chatter
Request images with overlayed dimensions and callouts so you can match to spec, before you place the order.
Surface Finish Comparisons
Sometimes the difference between “acceptable” and “premium” is only visible when the parts are side by side. I’ve reviewed hundreds of parts where the only thing separating a $45 finish from a $10 one was reflectivity and color depth—something you can’t describe in words alone.
That’s why it’s essential to compare:
- As-milled (raw, visible toolpaths)
- Bead-blasted (smooth, matte, uniform)
- Anodized (durable, colorized, professional)
Same part. Three finishes. Huge difference in feel.
Your vendor may call it “high quality,” but if you don’t know what that looks like—how can you be sure?
Ask for finish comparisons under identical lighting conditions. It’s the only way to tell how your product will really appear in the customer’s hand.
Branding & Custom Aesthetic Parts
Your brand is often etched—literally—into your product.
I once worked with a watch brand that insisted on laser-etched logos. The first CNC batch? The lines were too shallow to catch light. It looked cheap. It wasn’t the design—it was the depth.
Engraved nameplates, logos, bezels, and decorative parts need:
- Sharp internal corners
- Consistent line depth
- Clean tool transitions with no chatter
And if you’re working with luxury surfaces—anodized aluminum, polished brass, titanium—the finish must complement the engraving, not hide it.
Request macro images. Not just photos. You want to see how the part looks up close, where detail matters.
3D & 5-Axis Machined Geometry
If you’re sourcing complex or organic shapes, basic 3-axis visuals won’t cut it. I’ve seen beautiful designs—ergonomic tools, impeller fans, fluid sculpted parts—ruined by vendors trying to fake 5-axis capability.
You need proof.
Look for:
- Undercuts that would be impossible without tool tilting
- Smooth compound curves—not stepped surfaces
- Parts like turbine blades or propellers where all angles are machined in one go
These examples tell you your supplier isn’t just promising advanced capability—they’re proving it.
Whenever possible, request rotational or GIF views so you can see the geometry move. Still images often hide the complexity.
2. Examples by Material Type
Choosing the right material isn’t just about cost or strength—it’s about what the part looks like and how it performs once it’s machined.
One of the most common reasons teams run into production issues is underestimating how different materials behave during CNC milling.
At Machmaster, we’ve milled all of these materials in real production runs—so we know how each one behaves when it matters.
This section gives you a visual breakdown of machine results by material type.
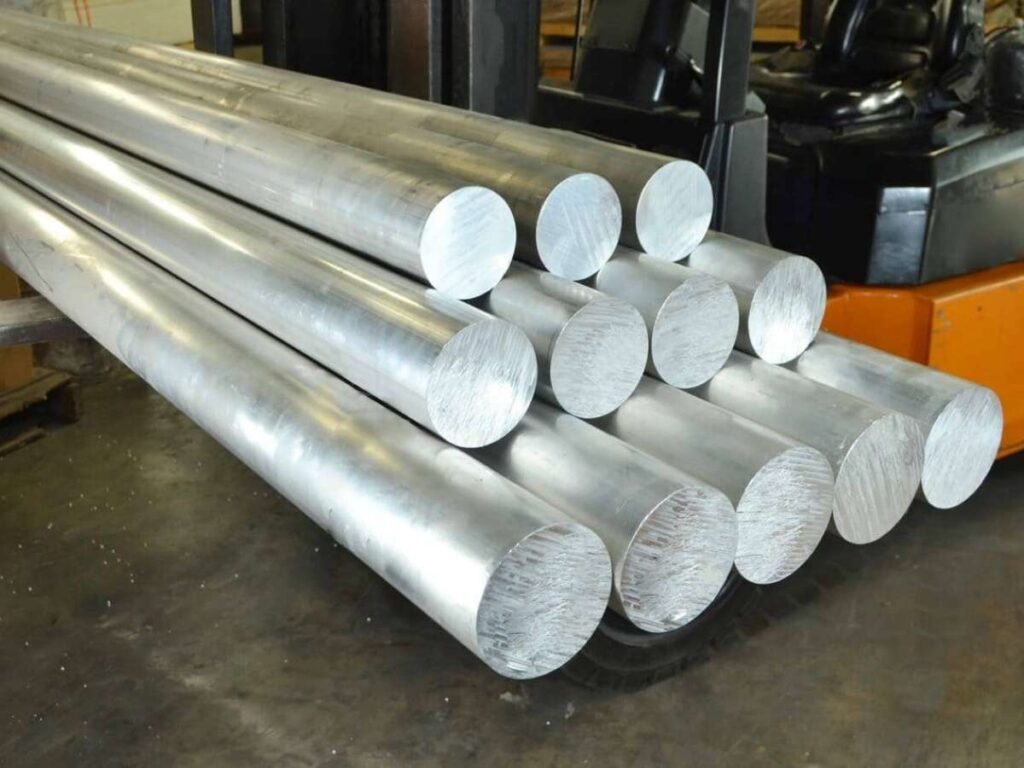
Aluminum (6061, 7075)
Aluminum is a CNC staple. Lightweight. Cost-efficient. Machinable. But not all alloys behave the same.
If you’re working with 6061, expect:
- Clean, bright as-milled finish with visible toolpaths
- Great surface for anodizing (both decorative and hardcoat)
- Ideal for general-purpose brackets, housings, and enclosures
7075, on the other hand, is stronger but a little harder to machine. It shows:
- Slightly darker finish
- Rougher edges unless tooling is optimized
- Best used in high-load parts like aerospace or performance gear
The difference between them? It’s subtle—until you see them side by side. That’s why visual examples matter before committing to a full run.
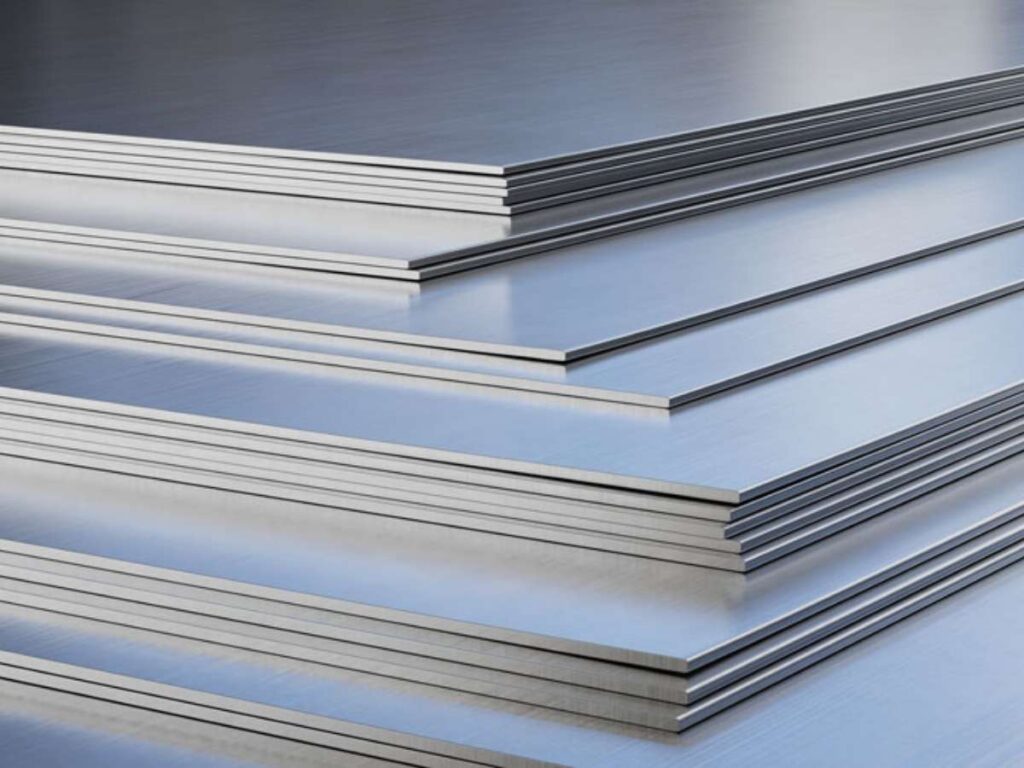
Stainless Steel (304, 316)
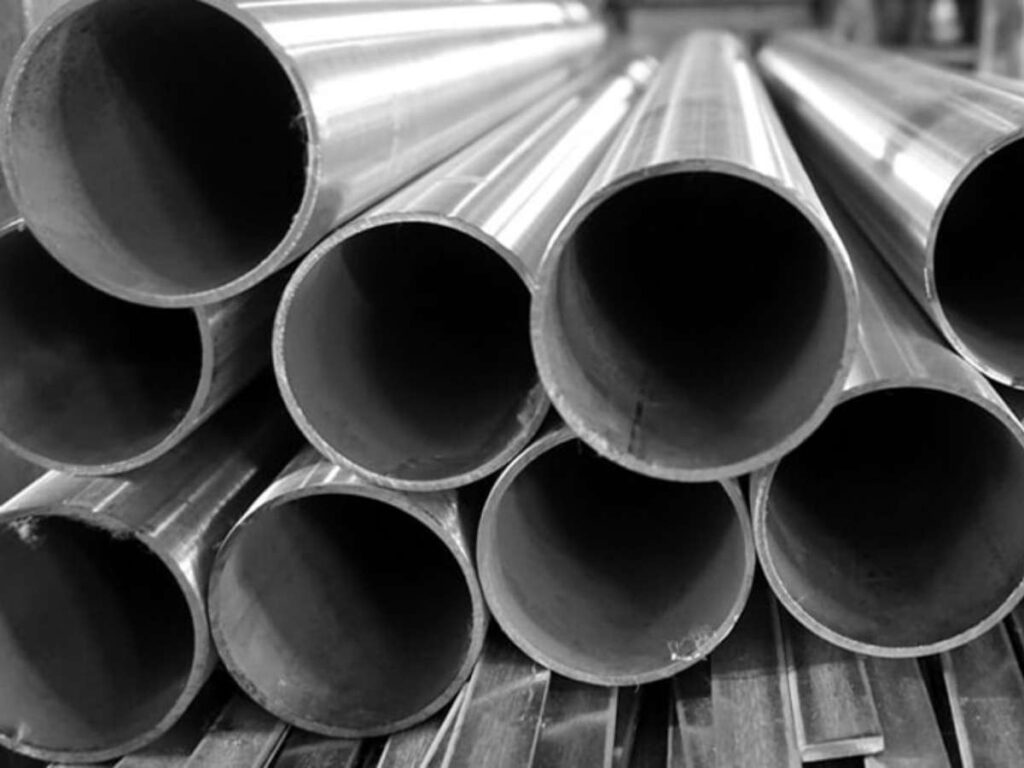
Stainless steel makes an impression—literally. It’s tough, dense, and tends to show every toolpath unless polished. But if strength and corrosion resistance are critical, it’s the go-to.
With 304 stainless steel, expect:
- Sharp-edged surfaces with slight burrs unless deburred post-machining
- Medium reflectivity in as-milled form
- Ideal for structural or load-bearing parts
316 stainless has slightly better corrosion resistance and is often used in:
- Medical devices
- Marine components
- Food-safe equipment
The key visual detail? Stainless steel can look “dirty” or smeared in low-quality milling. If you’re sourcing, demand examples that show clean toolpath definition and no visible tearing.
Brass and Copper
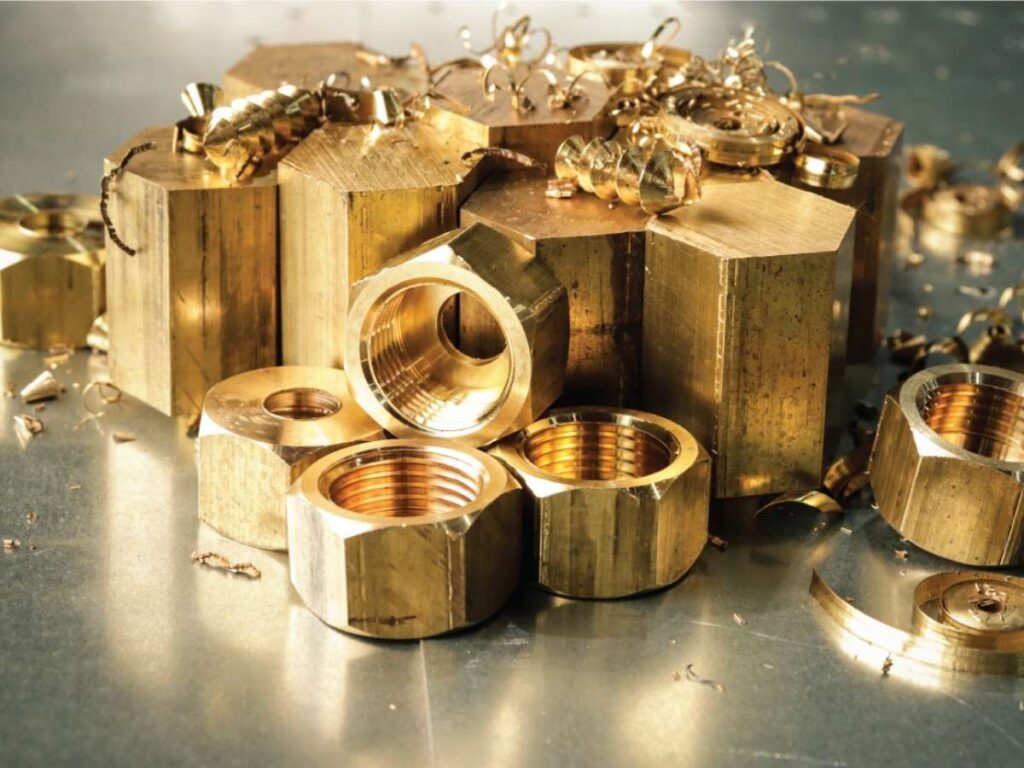
When finish matters, like really matters, brass and copper are showstoppers. Brass, especially, gives:
- A warm gold tone when freshly machined
- Clean, crisp edges with minimal burr
- Excellent visual detail in engraved or cosmetic parts
Copper is trickier. It’s soft, sticky, and prone to tool marks. But it’s unmatched for:
- Electrical contacts
- Heat sinks
- Decorative inlays
Both require skilled handling. If the supplier doesn’t show good copper/brass samples up front, you’re taking a risk.
Titanium
Titanium is where performance meets price. It’s costly, hard to machine, and slower to cut—but it’s often the only choice in aerospace, medical, or ultra-lightweight applications.
Expect:
- Darker, matte-gray finish (as-milled)
- Slight chatter marks unless high-end tooling is used
- Difficult-to-polish surfaces
If a vendor shows titanium parts with glassy finishes or smooth curves, that’s a strong indicator of process control. Don’t take their word—ask to see it.
Plastics (ABS, Nylon, POM/Delrin, Polycarbonate)
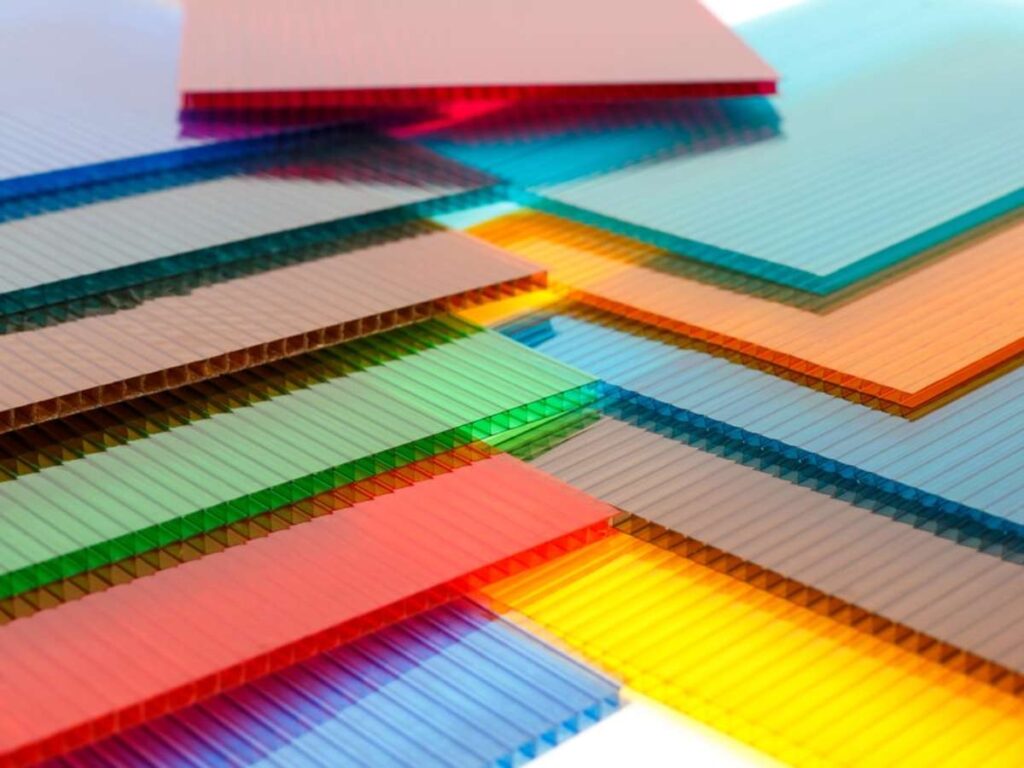
Plastic milling is a world of its own. You’ll get vastly different results based on the type, tooling, and feeds.
ABS: Soft, easy to machine, but prone to:
- Surface fuzzing if tools are dull
- Slight warping on large flat areas
- Matte finish with poor edge retention
Nylon: Flexible and wear-resistant but can show:
- Machining marks that look “dragged”
- Some dimensional instability over time
POM (Delrin) is your go-to for visual and mechanical quality:
- Smooth, satin finish
- Crisp edges
- High repeatability across parts
Polycarbonate: Tough, transparent, and impact-resistant, but hard to get visually perfect without polishing.
For all plastics, visual references help set realistic expectations, especially for finish quality and edge sharpness. What looks clean in CAD may need revision once you see the milled result.
3. Examples by Machining Feature
Sometimes it’s not the material or use case that determines the complexity of a CNC part—it’s the feature itself.
Internal corners. Threads. Pockets. Undercuts. These are the details that make or break the function, cost, and visual quality of a part.
This section walks you through real-world examples organized by specific machining features.
Whether you’re reviewing a drawing, sourcing a quote, or finalizing a design, these features are what you need to understand visually to avoid rework or surprises.
At Machmaster, we machine parts like these every day—so we’ve seen what works, and what doesn’t.
Tapped Holes & Threaded Features
I once worked with a factory that quoted a prototype in 48 hours—but didn’t flag that half the holes were missing threads. They had no visual checklist, and neither did I. The result? A re-machined batch, a missed deadline, and a very awkward call with the client.
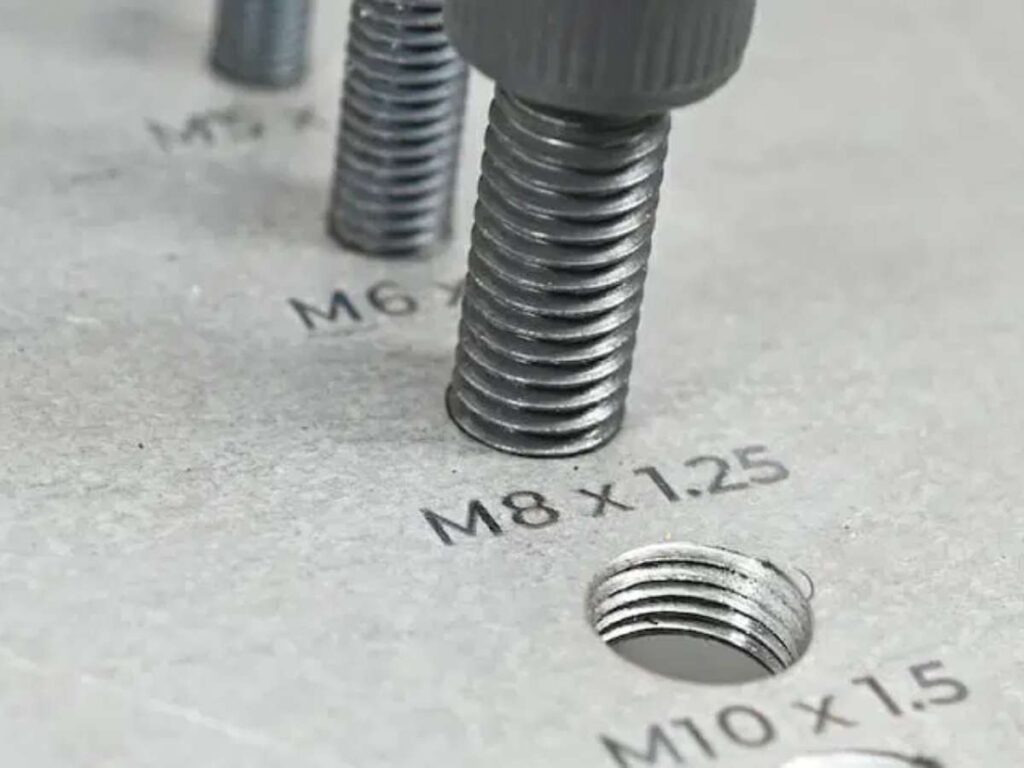
Tapped holes might look simple, but here’s what you want to see in examples:
- Clean entry points with no burrs
- Straight alignment—especially for blind holes
- Threads cut to full depth with visible toolmarks
If you’re outsourcing, ask for part photos that highlight threaded regions specifically. Most defects happen in tight spots, and they’re hard to fix once assembled.
Pockets & Cavities
Pockets are everywhere in CNC parts—electronics housings, brackets, tool bodies—but what you don’t see in CAD is how those pockets affect tool access and surface finish.
In one early design review, we realized that a shallow pocket with square corners was driving up the cost. The vendor had to stop the machine and manually file the corners to fit.
Here’s what to look for in pocketed parts:
- Wall height and thickness (too thin, and they flex)
- Internal corner radius (square corners = more tool time)
- Bottom finish—flat vs scalloped (depending on cutter type)
Visual examples showing deep pockets next to shallow ones are gold. They help you understand how depth, geometry, and wall spacing affect price and feasibility.

Fillets, Chamfers & Edge Breaks
These aren’t just cosmetic—they’re functional. And often, they’re what separates a well-machined part from a budget one.
I once toured a supplier’s floor and saw 2 identical parts on the table—except one had razor-sharp edges, and the other had a soft chamfer all around.
The difference? One was rejected during QA. The other was approved in 10 seconds.
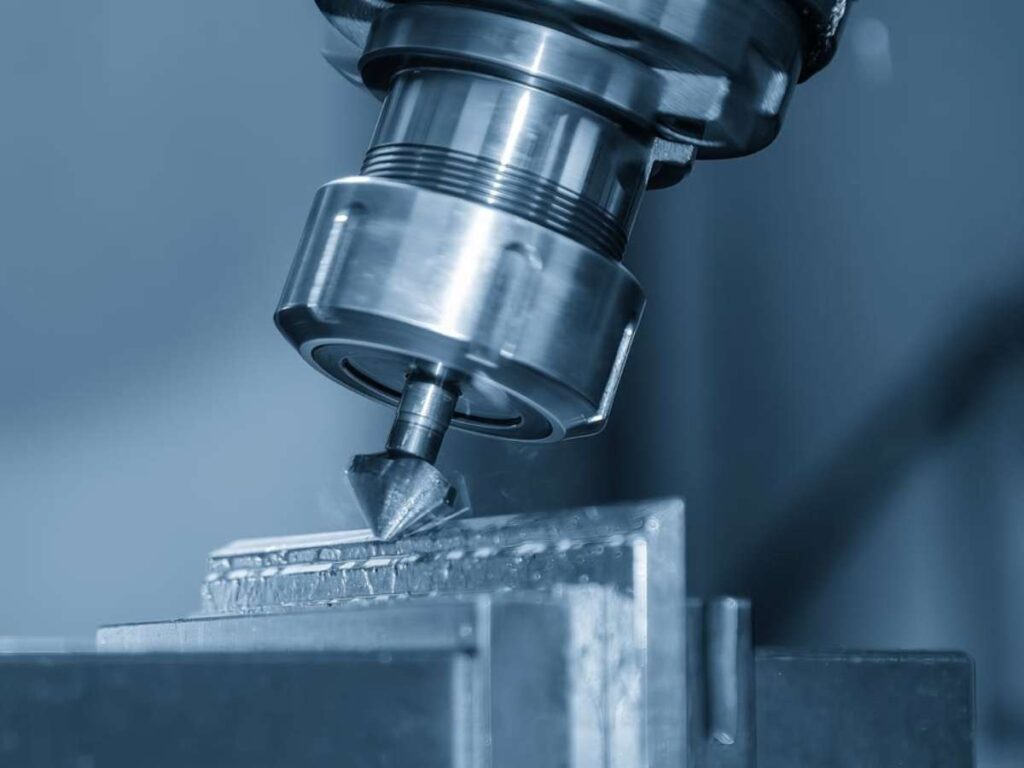
When reviewing edge features, look for:
- Chamfer consistency around cutouts and outer edges
- Smooth, intentional fillets—not tool-induced curves
- Clear distinction between designed edge breaks vs sloppy cleanup
If your part touches hands, tools, or other parts, edges matter. Don’t leave them to chance.
Undercuts & Thin Walls
The moment you hear “undercut,” your quote just doubled. And if you don’t believe it—check the machining time logs.
Undercuts require special tooling or multi-axis setups. Thin walls, on the other hand, can flex, chatter, or even melt during cutting (especially with plastics). I’ve seen both destroy lead times and budget because no one caught them in the design review.
Here’s what the best examples show:
- Undercuts with clean access paths (proof of 4 or 5-axis capability)
- Thin walls with minimal deflection or vibration marks
- No tool drag or rough chatter in long, narrow slots
If your design includes these features, don’t just send a drawing. Ask for similar part images from your vendor. If they hesitate, that’s your signal.
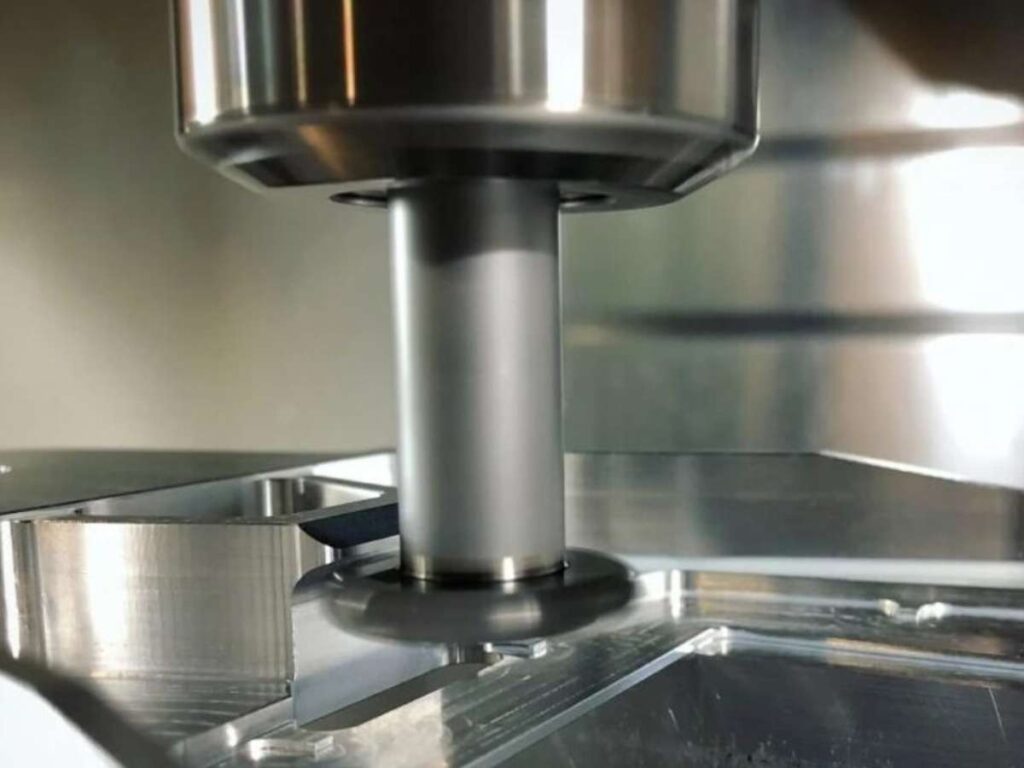
4. Industry-Focused Examples
Every industry comes with its own expectations, and CNC parts are no exception. What passes in consumer electronics won’t fly in aerospace. A surface finish that looks great on a motorcycle bracket might get rejected in medical.
That’s why reviewing examples in context is so important.
This section gives you a visual sense of what CNC machining looks like across different industries, so you can align expectations, source confidently, and avoid costly mismatches.
Aerospace
I once sat in on a supplier audit for an aerospace client. We were inspecting a titanium mounting component—just a simple bracket. But the inspector caught a micro burr on one edge and rejected the entire lot. Why? Because when you’re flying at 30,000 feet, details aren’t optional.
In aerospace, CNC parts need:
- Tight tolerances (often ±0.01mm or tighter)
- High strength-to-weight ratio (aluminum, titanium)
- Clean edges and deburred finishes on every hole, slot, and contour
Look for examples that show:
- Lightening pockets with thin walls
- Uniform anodized finishes
- Complex, multi-axis machined geometry (like brackets or housings)
If your vendor can’t show you aerospace-grade samples, think twice before handing over critical parts.
Automotive & Motorsports
In automotive, I’ve seen CNC parts go from a sketch to a finished bracket in under 72 hours—especially during late-stage R&D. What matters most in this field is speed, strength, and repeatability. These teams don’t have time to guess.
Common CNC components include:
- Engine mounts and suspension brackets
- Throttle bodies, intake plates, gear housings
- Aftermarket cosmetic parts like shift knobs, pedals, or bezels
When reviewing examples, look for:
- Symmetry in high-load parts
- Consistent hole spacing and alignment
- Surface treatments like bead-blasting or anodizing for durability
Even in cosmetic parts, finish matters—especially in motorsports where parts are often visible.
Medical Devices
Working with a startup in medtech, we once prototyped a surgical guide milled from PEEK. Every corner, edge, and hole needed to be not just accurate—but comfortable to hold, sterilizable, and free of any surface defect. The part was less than 2 inches long but had more scrutiny than anything I’d worked on all year.
In medical CNC parts, you’ll often see:
- Biocompatible materials (Titanium, PEEK, Stainless 316)
- Extremely tight tolerances for implants or guides
- Smooth, burr-free surfaces, for both safety and hygiene
Request examples showing close-ups of tool access, internal slots, and tight curves. This isn’t just about machining—it’s about trust.
Industrial & Machinery
In industrial environments, CNC parts are the unsung heroes. They may not look pretty, but they carry the weight—literally.
One time we sourced a set of interlocking steel plates for a heavy equipment manufacturer. The visual detail that sealed the deal? You could see from the photo how precise the hole-to-slot alignment was across a 500mm span. That kind of visual proof can’t be faked.
Key components here include:
- Custom brackets
- Load-bearing joints
- Mounting and interface plates
Look for examples with:
- Machined slots and pockets that align precisely
- Heavy-duty materials like tool steel or 1045
- Minimal post-processing—raw function over flash
If you’re in industrial equipment, function comes first—but visuals can still tell you a lot about vendor capability.
5. Design Tips Based on Visual Examples
You can have the best CAD model in the world—and still get a part that doesn’t work. Why? Because the machine doesn’t care how it looks in 3D. It follows the rules of physics, tooling, and real-world constraints.
The fastest way to design smarter parts is to study real CNC examples. What worked. What didn’t? What caused cost spikes? What made for clean, repeatable results?
This section gives you tactical design tips—each one tied to visual cues you can spot before you ever hit “Send” on a quote.
Use Fillets on Internal Corners
I’ve seen so many parts get flagged by machinists because of one simple issue: perfect 90° internal corners. Tools are round. End mills can’t make sharp inside edges. If your part demands them, expect a cost bump—or a redesign.
Visual Clue: Look for examples where internal pockets have a clean radius at the corners. These aren’t design flaws—they’re smart adaptations to CNC tooling.
Tip: Add fillets (radius ≥ tool diameter) to internal corners. It reduces tool wear, speeds up machining, and lowers your quote.
Watch Wall Thickness
One of our early designs for a polycarbonate shell looked great—until we got the sample back. One side had visible vibration marks. The walls were too thin, and the cutter flexed just enough to ruin the finish.
Visual Clue: Thin walls often show chatter, ripples, or tool deflection—especially in plastics.
Tip: Keep wall thickness above 1.5mm for plastics, and 2mm for metals when possible. It stabilizes the cut and improves surface quality.
Avoid Deep, Narrow Cavities
A client once tried to get a narrow slot milled 60mm deep into aluminum. The tool length required made it slow and unstable. It ended up needing special tooling, and the price doubled.
Visual Clue: In deep pockets, look for uneven floor finishes or scalloped walls. This usually means the tool was pushed to its limit.
Tip: Use stepped pockets or add open access. If you must go deep, widen the cavity to allow a stronger tool to fit.
Plan for Tool Access in Every Axis
I once approved a design with a small undercut, thinking “they’ll figure it out.” They did—by charging us for a 5-axis setup. We could’ve avoided it by adding a small ramp.
Visual Clue: Look for features that can’t be reached by a straight vertical toolpath. These often require extra fixturing or multi-axis setups.
Tip: If you’re designing for 3-axis machining, simplify your part so all features can be accessed from top, side, or bottom. Avoid features that face away from the primary plane.
Conclusion
I was confused once, too.
But now you’ve seen what I wish I had—real CNC parts, real finishes, and real details. You know what clean threads should look like.
You’ve seen how aluminum compares to stainless. And you understand why material choice changes the outcome.
This guide is your visual checklist.
Come back to it. Use it as your design or source.
It’s here to help you avoid mistakes—and feel more confident.
Don’t wait for a rough surprise like I did.
Contact us and get real answers today.
Discover More Options
There’s so much more to discover! Check out our other products and find what fits your needs:
Still haven’t found what you’re looking for? Don’t hesitate to contact us. We’re available around the clock to assist you.


