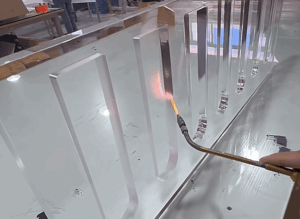
I once spent hours making a batch of parts. Later, I found out the threads were all wrong. Every single one. It made my stomach drop. I lost time and money because of it.
That’s how threading issues get you. Threads look small. But they’re what hold everything tight. When they fail, your whole project can fall apart.
You can trust me on this because I’ve been there. I’ve had to throw parts away, call customers with bad news, and take the blame. It wasn’t fun, but it taught me a lot.
Maybe you run a shop and want to avoid wasting money. Maybe you design parts and want them to last. Or maybe you buy parts and want fewer problems. Either way, you want to stop these mistakes or fix them fast.
In this guide, I’ll show you the top 10 threading issues, why they happen, and easy ways to fix them.
By the end, you’ll understand threads better. That means fewer problems, smoother projects, and less stress for you.
Let’s jump in!
Quick Guide
Want the short version first? Below is a quick guide you can scan before jumping into the detailed fixes later in the post.
| Threading Issue | What’s Going Wrong | How to Fix It |
| Thread Galling | Threads seize and tear due to friction and heat. | Use lubrication, slow down torque, and avoid matching soft metals like stainless on stainless. |
| Thread Chipping | Thread edges flake or break off during cutting or assembly. | Adjust cutting speed, use sharper tools, and secure the workpiece properly. |
| Incomplete or Undersized | Threads don’t reach full depth or profile. | Increase cutting depth, check tool wear, and verify tool offsets and thread specs. |
| Cross-Threading | Fastener enters at an angle, damaging the thread path. | Start by hand, use chamfers for lead-in, and avoid using power tools too early. |
| Oversized Threads | Threads cut too deep or wide, causing loose fit. | Adjust offsets, replace worn tools, and use thread gauges during production. |
| Thread Misalignment | Threads look fine but don’t engage evenly. | Verify part setup, reduce backlash, and confirm hole angles and placement. |
| Tapered or Deformed Threads | Thread depth or shape varies across the length. | Align tooling, control feed and depth, and secure the part against movement or flex. |
| Burr Thread Formation | Tiny metal fragments are left on thread edges. | Deburr after cutting, use sharp tools, and optimize speed and feed settings. |
| Thread Pullout | Threads strip or tear out under load. | Use longer engagement, thread inserts, and torque limits based on material strength. |
| Thread Pitch Deviation | Thread spacing is inconsistent or off-spec. | Check backlash, confirm correct pitch programming, and maintain spindle-to-feed sync. |
With the table covered, let’s get into the real lessons learned from the shop floor.
1. Thread Galling
Thread galling happens when threads seize or tear during tightening due to heat and friction. It’s most common with similar metals like stainless steel, aluminum, or titanium rubbing together without lubrication. Once galling starts, the threads can lock suddenly, making removal almost impossible without damage.
I’ve had parts jam so tight mid-assembly that we had to scrap both the fastener and the housing. It’s a frustrating experience, I swear.
What Causes Thread Galling?
Thread galling can happen fast. Here are the most common causes to watch out for:
- No Lubrication Between Threads: If you’re tightening dry threads, friction builds quickly. That heat bonds the metals and tears the threads.
- Same Metal on Metal Contact: When you use materials like stainless steel on stainless, cold welding becomes a risk under torque and pressure.
- Overtightening or Fast Installation: Spinning fasteners too quickly or cranking down with too much torque spikes the heat, and that’s when things stick.
- Poor Surface Finish: Threads that feel rough or jagged tend to bite into each other, which can lead to tearing and jamming during assembly.
- Fine Threads Instead of Coarse Threads: Fine threads have more surface contact. That means more friction, and a higher chance of galling.
How to Fix It
If you’re dealing with galling mid-assembly or it’s already happened, here’s what to do:
- Stop Immediately: Don’t force it. That only makes the damage worse, and could ruin both parts.
- Disassemble Slowly: Back the fastener out gently. A little lubrication or heat can help reduce further tearing as you go.
- Inspect Threads: Look closely for torn surfaces, metal shavings, or distortion. Damaged threads will only cause more trouble later.
- Replace Fasteners if Damaged: If anything looks worn, don’t reuse it. Swap in new components to avoid repeat failures.
Thread galling doesn’t seem like a big deal until it ruins a project or delays a shipment. But once you know what causes it, and take the time to prep and match your materials right, it’s one of the easiest problems to avoid in the long run.
2. Thread Chipping
Thread chipping refers to the small, unwanted breaks or flakes that form along the edges of threads. These chips usually appear during or right after the machining or installation process. While they may seem minor at first, they can lead to bigger issues, poor thread engagement, loosening during operation, or even total fastener failure.
One time, after a delivery, a customer called and said their bolts wouldn’t thread in cleanly. We inspected the batch. Sure enough, tiny chips on multiple parts. It cost us more than just replacements, it cost us time and trust.
What Causes Thread Chipping?
You can trace most chipping issues back to one of these causes:
- Incorrect Cutting Speed or Feed Rate: If the thread is cut too fast or too hard, the profile weakens and flakes off, especially on the crest or root.
- Dull or Damaged Cutting Tools: Worn tools generate more heat and friction. That extra stress can make material edges brittle and prone to chipping.
- Improper Material Choice: Brittle alloys tend to chip if you don’t use the right speeds, feeds, or cutting fluids.
- Poor Thread Support or Vibration: If your part moves or vibrates during machining, you’ll get inconsistent threads and edge damage.
- Debris Build-Up During Cutting: Leftover chips or coolant sludge can interfere with the tool path and cause microfractures during threading.
How to Fix It
If you’re already seeing chipped threads, here’s what to do next:
- Slow Down the Cut: Lower feed and speed to reduce impact and heat buildup, this protects delicate thread edges.
- Replace or Sharpen Tools: A fresh or coated tool can create cleaner threads with less stress on the material.
- Use Better-Suited Material: If the job allows it, switching to a more machinable alloy can reduce the chance of flaking.
- Secure the Part Properly: Keep the part locked down during cutting. Even slight movement causes chatter and uneven thread profiles.
Thread chipping might seem like a minor defect, but it hits your part’s performance and reputation hard. If you focus on setup, material, and tool condition, you’ll catch the problem before it ever leaves your shop.
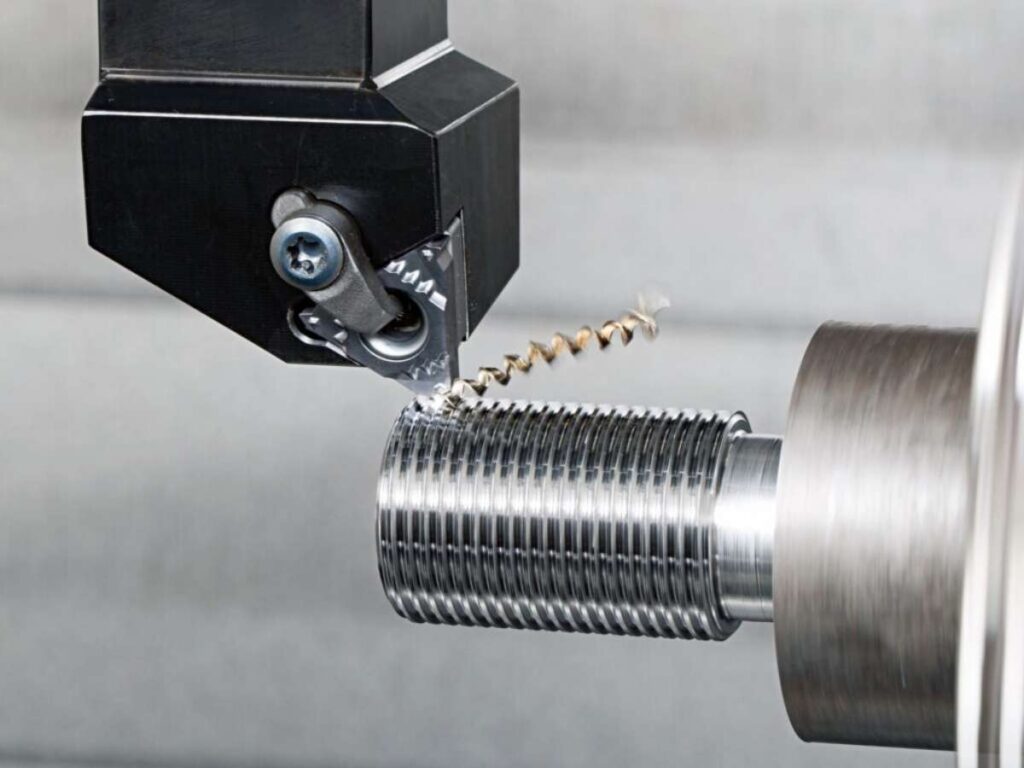
3. Incomplete or Undersized Threads
I still remember a prototype we rushed out without a proper thread gauge check. The parts looked fine at a glance. But during assembly, the screws barely caught, and slipped right out under pressure. It was a simple mistake, but it taught me to always verify thread depth.
Incomplete or undersized threads are threads that don’t reach the full depth or profile required for proper engagement. This usually leads to loose fits, reduced load capacity, or stripped threads during installation.
What Causes Incomplete or Undersized Threads?
Here are the usual reasons threads end up falling short:
- Shallow Thread Cutting: If the depth of cut is too low, the threads won’t fully form. This weakens thread engagement and reduces holding power.
- Incorrect Tool Offset or Setup: Small errors in your Z-depth setting or CAM programming can make threads that look okay but won’t hold under pressure.
- Tool Wear or Dull Inserts: As tools dull, they often start cutting shallower without any visible sign. This leads to inconsistent threads across a batch.
- Hard Material Springback: Some metals, especially tougher alloys, tend to spring back slightly after cutting. That can shrink the actual thread depth and leave you with undersized threads.
- Wrong Tap or Die Size: Using the wrong tap or die for your hole or shaft size creates threads that don’t match the spec, even if everything else is dialed in.
How to Fix It
If you’re seeing incomplete or undersized threads, try these steps:
- Check Thread Depth Regularly: Use thread gauges or go/no-go tools during production, not just at the end. It helps catch bad threads early.
- Adjust Tool Offsets: Review your setup or program. A small change to the offset might give you the full depth without risking overcutting.
- Replace Worn Cutting Tools: If threads start looking inconsistent, don’t wait. Swap the insert or tap before it starts affecting the batch.
- Use Thread Forming Instead of Cutting (If Applicable): In the right material, thread forming can produce stronger, more consistent threads and reduce profile variation.
Incomplete threads may not always stand out at first glance, but they show up fast in assembly failures and product returns. Getting the depth and fit right from the start keeps your builds solid and your shop efficient.
4. Cross-Threading
In my early days, I once forced a screw into a tight spot without checking the angle. It went in, but something felt off. When I removed it, the threads were mashed, and the part was unusable. Lesson learned: don’t rush the start.
Cross-threading happens when a fastener goes in at the wrong angle and cuts across the thread path instead of following it. This damages both the bolt and the internal threads, making proper fit and torque nearly impossible.
What Causes Cross-Threading?
Here are the most common reasons this issue shows up:
- Improper Alignment During Assembly: If you start a fastener at an angle, it tries to cut its own path. That instantly ruins both sets of threads.
- Lack of Lead-In or Chamfer: Without a slight taper at the hole’s edge, guiding the fastener correctly becomes harder, especially if you’re working by hand.
- Using Power Tools Too Quickly: Firing up a drill or driver before the fastener is properly aligned can lock it in the wrong path before you even notice.
- Damaged or Dirty Threads: Burrs, dirt, or worn threads throw off alignment. If the fastener doesn’t seat smoothly, that’s your red flag.
- Wrong Fastener or Thread Type: Mismatched threads might feel like they’re going in fine, until they seize or cross halfway through.
How to Fix It
If you’re dealing with cross-threading, or want to stop it before it starts:
- Stop and Back Out the Fastener: If it feels tight after just a few turns, don’t force it. Back it out immediately before the threads get shredded.
- Add a Chamfer or Lead-In: A light bevel on the thread opening helps guide the fastener in straight, especially helpful for high-speed or blind installs.
- Use Hand Tools to Start Threads: Always start threading by hand. That’s how you feel if it’s seated correctly before you bring in the power tools.
- Clean and Inspect Threads First: A quick pass with a wire brush or blast of air helps catch debris or damage before it causes binding or misalignment. At MachMaster, they inspect every thread to make sure your parts perform right the first time.
Cross-threading is easy to do but hard to undo, especially when it ruins an expensive part and costs you more than time. I’ve been there, standing over a scrapped piece knowing it could’ve been saved with just a steadier hand and a slower start.
5. Oversized Threads
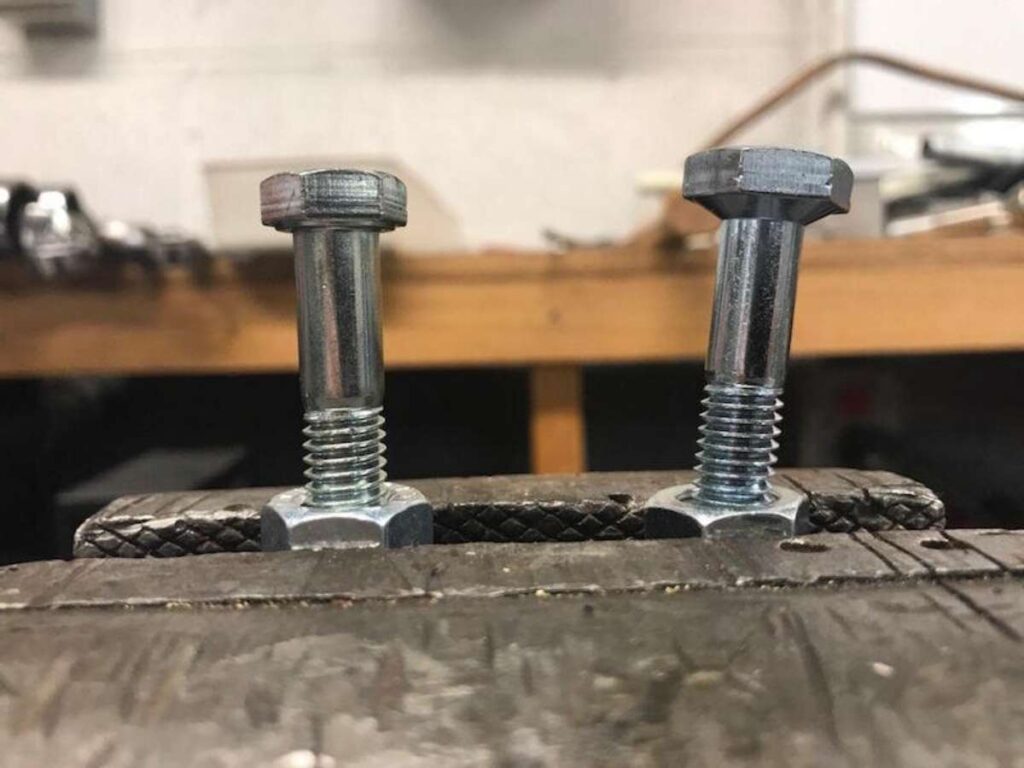
Oversized threads happen when the thread profile is cut too deep or when the diameter exceeds the intended size. This usually leads to a poor fit between parts, reduced holding power, or loosening during use.
There’s a kind of quiet frustration that sets in when threads feel loose on a fresh part. It’s not always obvious at first, but when the fit isn’t right, confidence in the part fades quickly especially when it’s going into a customer’s hands.
What Causes Oversized Threads?
Here’s what usually leads to thread oversizing:
- Tool Offsets Set Too Deep: Cutting too far increases thread height but reduces contact area. The result? A looser fit that won’t hold under load.
- Incorrect Tap or Die Size: If the tool doesn’t match the spec, expect poor thread engagement or excess play right out of the gate.
- Tool Deflection or Vibration: Long or slender tools can shift under load. That small drift widens thread profiles and throws tolerances off.
- Thermal Expansion During Machining: Parts expand under heat. If you don’t account for that, they shrink back after cooling, leaving oversized threads.
- Worn or Oversized Cutting Tools: You might not notice it at first, but a worn tap or insert gradually produces bigger threads with every part.
How to Fix It
Catching oversizing early makes all the difference:
- Check and Adjust Tool Offsets: Review your program or manual depth settings. A slight reduction in pass depth often solves the issue.
- Verify Tool and Tap Sizes: Double-check that your tooling matches the thread callout exactly, don’t assume based on looks or labels.
- Use Thread Plug Gauges: These give instant feedback. If the No-Go side slides in, stop production and investigate.
- Replace Worn Tools Promptly: If fit feels off across multiple parts, it’s time to inspect the cutting edges or inserts.
Oversized threads often slip under the radar until it’s too late until fasteners rattle, seals leak, or fittings fail a pressure test. That quiet looseness you feel during assembly is a sign that something’s off, and taking a moment to catch it early is worth every second.
6. Thread Misalignment
Thread misalignment happens when internal and external threads don’t match up during assembly even when both parts look correct on paper. The threads may engage at an angle, feel tight in some spots, and loose in others.
I’ve cared this issue more times than I’d like to admit. Once, I spent nearly an hour rechecking every setting in the CAM file, only to find the part had shifted slightly in the vise. Everything seemed fine until torque testing failed. It’s the kind of problem that sneaks in and makes you question the whole process.
What Causes Thread Misalignment?
Misalignment usually comes down to these common issues:
- Improper Fixturing or Setup: If your part isn’t squared in the vise or chuck, threads can be machined at a slight angle.
- Loose or Worn Machine Components: Backlash or mechanical slop shifts your toolpath just enough to misalign threads during cutting.
- Multi-Part Assembly Errors: Connecting to a misaligned surface sends the fastener off-track, leading to uneven engagement.
- Poor Hole Location or Axis Drift: A mispositioned hole or drifting toolpath during machining can throw off your thread geometry.
- Manual Threading Without Guides: Starting threads by hand without alignment tools increases the risk of entering at the wrong angle, especially with deep or blind holes.
How to Fix It
If thread misalignment keeps showing up, try these fixes:
- Check Part Alignment Before Cutting: Make sure your setup is square and secure. A minor tilt can shift thread angle.
- Inspect Machine Components and Backlash: Tighten moving parts and check axis play. Even a little slack affects thread precision.
- Use Thread Start Guides for Assembly: Simple alignment tools help fasteners enter straight and seat properly, especially helpful in production work.
- Measure Hole Location and Thread Angle: Use indicators or CMM inspection to spot early signs of misalignment before assembly issues arise.
Thread misalignment doesn’t always announce itself loudly, it shows up in stripped bolts, uneven torque, or that sinking feeling when an install doesn’t go as planned. When parts don’t feel right in the hand, it’s worth slowing down to look closer. Those small corrections in setup or alignment often make all the difference between a headache and a clean assembly.
7. Tapered or Deformed Threads
Tapered or deformed threads occur when the thread profile changes from one end to the other, usually tightening or loosening gradually during installation. This inconsistency leads to uneven engagement, unreliable clamping, and potential leak paths or part failure.
I once ran a small batch of parts on a machine that had just come off maintenance. Everything looked good, but during inspection, I noticed the threads were tighter at one end. Turns out the tool holder wasn’t aligned fully. It took just a small angle to mess up all ten parts.
What Causes Tapered or Deformed Threads?
Most of the time, it comes down to small errors with a big impact:
- Misaligned Tool or Spindle: If the cutting tool isn’t square to the part, thread depth changes gradually, creating a taper.
- Improper Z-Axis Depth Control: Unstable or drifting depth during cutting causes uneven thread profiles and inconsistent pitch.
- Warped or Poorly Clamped Workpiece: If your part shifts or flexes during machining, threads deform, usually at one end more than the other.
- Tool Wear or Build-Up: A dull tool or chips stuck on the edge can reshape threads, especially with fine pitches.
- Heat Distortion in Thin-Walled Parts: Excess heat causes thin parts to expand and shift. As the part cools, the threads shrink unevenly, leaving deformities.
How to Fix It
To prevent or correct these thread issues, focus on the following:
- Align the Tool and Part Before Cutting: Double-check that the spindle, tool holder, and part are square and secure.
- Control Z-Axis Depth and Feed Rate: Keep an eye on depth consistency and verify the feed is steady throughout the thread cycle.
- Clamp the Part Firmly: Secure material to avoid movement or vibration during threading, especially on long or thin workpieces.
- Maintain Sharp, Clean Cutting Tools: A clean edge preserves thread form. Swap worn tools early and clear chips between parts.
Deformed threads might not always be obvious at first glance, but the effects show up fast especially under load or pressure. I’ve seen good parts go bad over one tilted setup or a tool that should’ve been changed out hours ago. Paying attention to the small stuff during setup often saves you from bigger problems after the fact.
8. Burr Thread Formation
It’s always frustrating to hear from a customer that a bolt won’t start cleanly, only to find out later that a tiny burr blocked the first thread. I’ve had to re-tap holes by hand just to salvage jobs that looked perfect until final assembly.
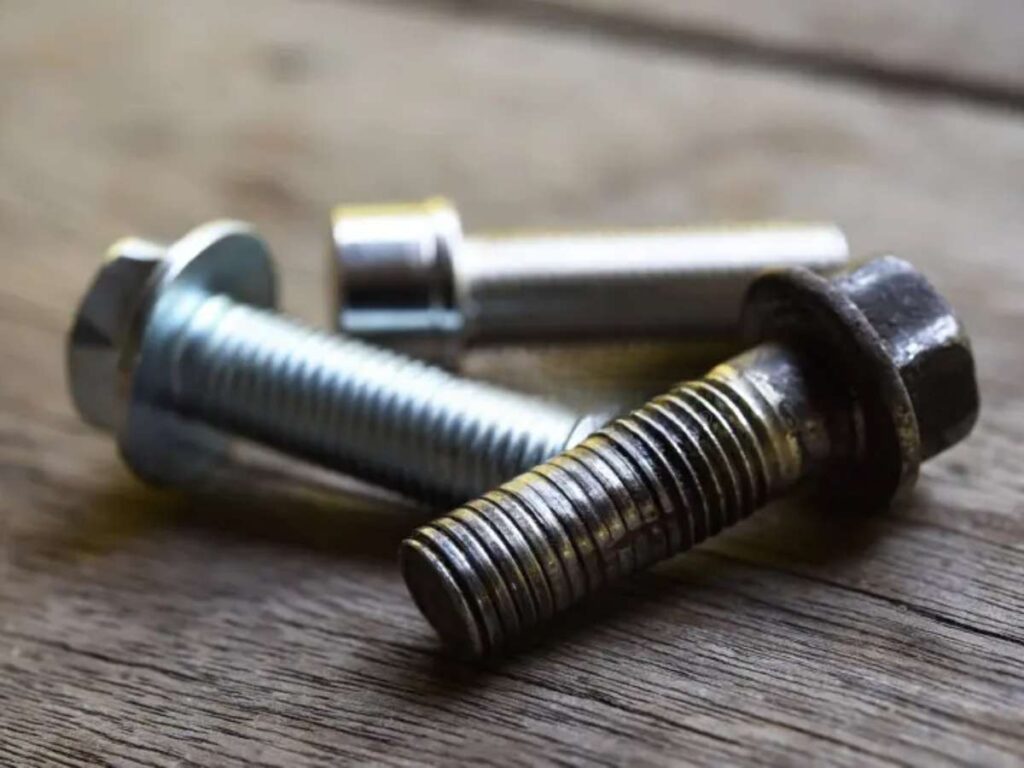
Burr thread formation happens when small, raised bits of metal called burrs stick to the edges of the threads after cutting. These leftover fragments may seem minor, but they can interfere with fit, block full engagement, and cause galling or thread damage during assembly.
What Causes Burr Thread Formation?
These are the usual culprits behind unwanted burrs on threads:
- Dull or Worn Cutting Tools: Worn tools tear through the material instead of slicing cleanly, leaving rough edges or metal fragments at the thread crest.
- Incorrect Feed or Speed Settings: Too much heat from poor parameters causes tearing and deformation, which often shows up as burrs near the thread start or exit.
- Lack of Deburring Passes or Cleanup: Skipping a cleanup pass allows sharp edges to remain. Even one missed burr can block a fastener during install.
- Hard or Brittle Materials: Tough metals like titanium or hardened steels tend to burr more without proper tool geometry or speeds.
- Interrupted Cuts or Backtracking: Reversing direction mid-thread or stopping during a cut can create exit burrs as the tool pulls material away at an angle.
How to Fix It
If burrs are showing up or you’re looking to avoid them altogether, these steps help:
- Use Sharp, Quality Tools: Start with well-maintained inserts or taps to ensure clean cuts and minimal tear-out.
- Apply the Correct Feed and Speed: Dial in parameters that suit the material and thread type to reduce heat and deformation during the cut.
- Deburr Threads After Cutting: Use a dedicated deburring tool, light brush, or final pass to smooth edges without damaging the thread profile.
- Select Materials with Better Machinability: When burrs keep recurring, switching to a cleaner-cutting alloy can reduce downstream cleanup time.
Burrs may be small, but they create big problems especially when a part fails in the field because a thread wasn’t quite right.That’s why MachMaster focuses on precision at every step, so your threads don’t just look right, they work right.
9. Thread Pullout
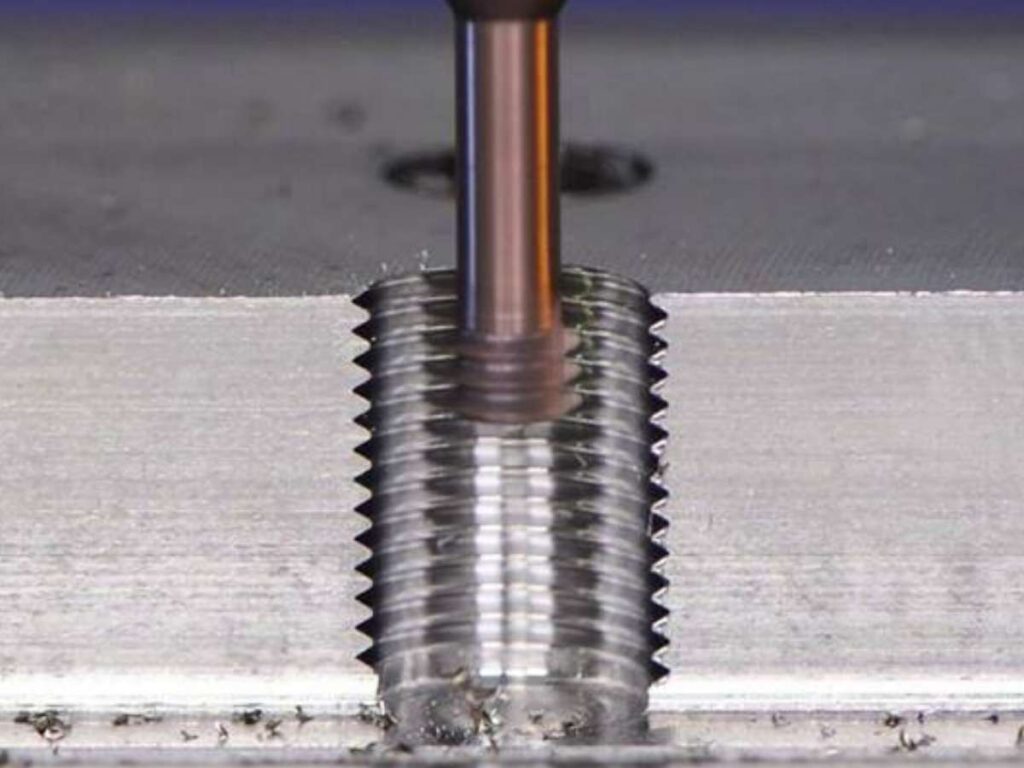
Thread pullout happens when the internal threads strip or tear away during use often while under load or torque. This failure occurs when the threads can no longer hold the fastener in place, causing it to break loose. It’s especially common in soft materials like aluminum or plastic, or when the thread depth is too shallow for the applied load.
The worst part? Pullout usually shows up during testing or in the field not during machining. I once had a test rig come loose overnight. It was a clean part, but the thread depth wasn’t enough for the torque. It looked fine until it wasn’t.
What Causes Thread Pullout?
You’re likely to encounter thread pullout due to:
- Insufficient Thread Engagement: Too few full-depth threads means higher stress per thread. This increases the chance of stripping the material.
- Soft or Weak Materials: Materials like plastic, brass, or aluminum shear more easily under load, especially without reinforcement.
- Over-Tightening or Excessive Torque: Pushing beyond the recommended torque for a material can instantly strip the internal threads.
- Incorrect Thread Form or Size: Loose or shallow threads won’t hold under stress. This mismatch leads to failure even with moderate loading.
- Thermal Expansion or Fatigue: Cycles of heating, cooling, or vibration can gradually wear out threads, especially in lightweight or dynamic applications.
How to Fix It
To prevent or resolve thread pullout, consider the following:
- Increase Thread Engagement Length: Use longer screws or cut deeper threads to distribute force more evenly across the internal surface.
- Use Thread Inserts (e.g., Helicoils): Strengthen soft materials by inserting steel or alloy coils to restore or reinforce thread integrity.
- Torque to Spec: Always check torque values for the material you’re working with especially for non-ferrous metals or plastics.
- Reinforce the Thread Area: Design thicker walls, add bosses, or use stronger alloys around the thread zone to handle more load.
- Adding bosses, thicker walls, or using harder materials around the threads improves holding strength.
Thread pullout leaves a clean part looking like a failure and that’s a tough one to explain to a customer. I’ve learned that stronger threads aren’t always about tighter fits; sometimes it’s about planning for the stress a part will see, long before the first cut is made.
10. Thread Pitch Deviation
Thread pitch deviation happens when the spacing between threads isn’t consistent. Even if diameter and depth are right, the fastener won’t turn smoothly or might jam partway through. It’s the kind of issue that makes you second-guess a setup that otherwise looks perfect.
This kind of error often creeps in quietly. You’re checking parts, things seem okay, but during assembly, the fastener grabs, resists, or locks up. It’s not just frustrating, it’s confusing.
What Causes Thread Pitch Deviation?
Here are the most common causes of inconsistent thread pitch:
- Machine Backlash or Axis Drift: Slight play in the axis can cause uneven spacing as the tool moves through the cut.
- Incorrect Programming or G-Code Errors: Entering the wrong pitch value or misusing a canned cycle can shift the entire thread spacing.
- Thermal Expansion During Cutting: When the part heats up during machining, it may expand slightly, throwing off pitch spacing.
- Tool Deflection or Flex: If the cutter bends under load, especially on long-reach tools, the pitch may tighten or stretch unpredictably.
- Feed and Spindle Sync Issues: For thread milling or single-point threading, any loss in sync between feed rate and spindle rotation can lead to misaligned threads.
How to Fix It
If pitch issues are spotted, here’s what can help:
- Inspect for Backlash and Adjust Accordingly: Calibrate your axis or compensate in the control settings to reduce free movement.
- Double-Check Your Program Values: Confirm the pitch matches your drawing, and that there’s no rounding or tool call-up mismatch.
- Stabilize Temperature or Use Coolant Efficiently: Controlling heat helps maintain consistent part dimensions throughout the cut.
- Use Rigid Tools and Shorter Setups Where Possible: Less tool flex means better pitch control, especially in tight-tolerance threads.
Thread pitch deviation doesn’t always leave visible signs, but the way a fastener starts or doesn’t always tells the truth. I’ve watched teams go in circles chasing surface flaws, only to find the pitch was off by a fraction. That experience taught me that when something doesn’t feel right, it usually isn’t and it pays to measure, not guess.
Conclusion
This article covered the 10 most common threading problems, what they look like, why they happen, and how to fix them.
It’s based on real shop issues I’ve dealt with myself. These aren’t random tips, they’re here to save time, reduce rework, and keep your parts performing.
Threading problems show up fast if ignored. But most of them are preventable.
What issue from this list have you seen in your project?
Contact MachMaster today if you need support on your next part or production run!


